|
STEP-BY-STEP ILLUSTRATOR TUTORIAL
|
|
|
|
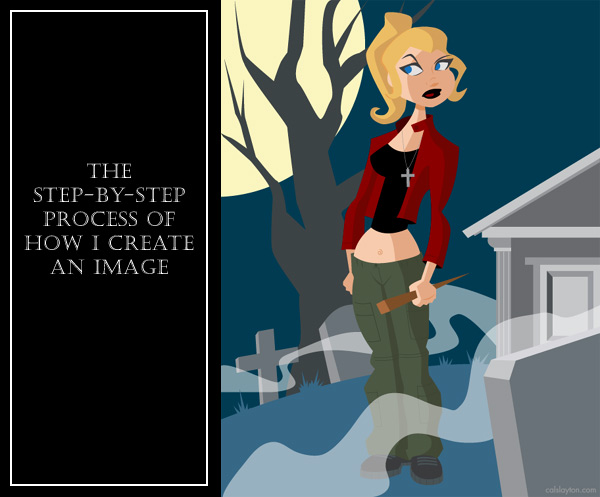
I've had people from time to time ask me what my process is for creating an image in Illustrator. I love when artist do tutorials, so I thought I would throw this together. This is by no means the right way to do it or even the smart way to do it. It's just how I do it. For this demonstration, I've created an image of Buffy The Vampire Slayer. By the way, it's not meant to look exactly like Miss Gellar, just a cartoon version of the character. So, here we go...
|
|
|
|
|
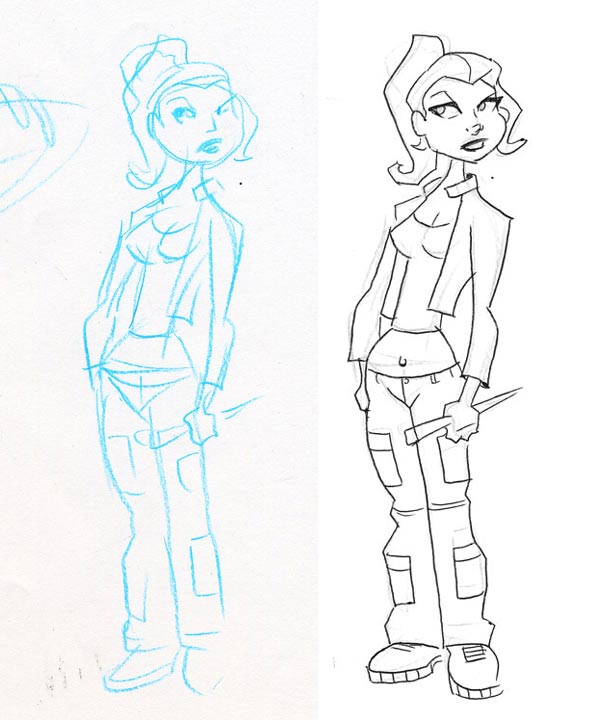
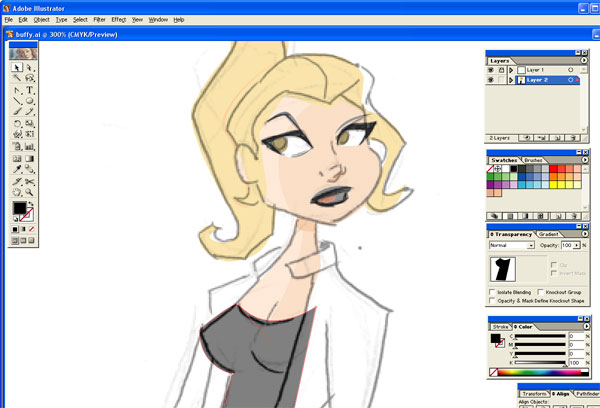
First I start out with a blue line sketch, which I then tighten up with an inked version. The amount of detail varies from image to image, it just depends. Usually with these Illustrator pieces, I keep them pretty loose because I know I'll clean them up once I'm working on the computer. It also doesn't matter to me what type of pen I use here either. This was done in ball point of all things. |
|
|
|
|
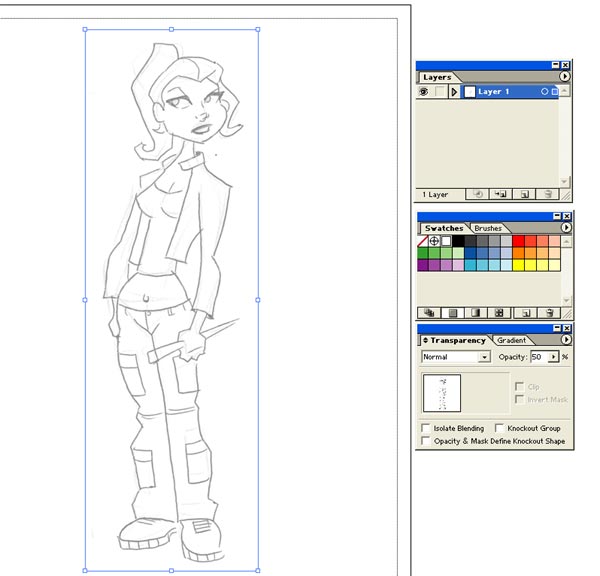
After scanning it, I bring the image into Illustrator, set its transparency to 50%, place it on it's on layer and then lock the layer.
|
|
|
|
|
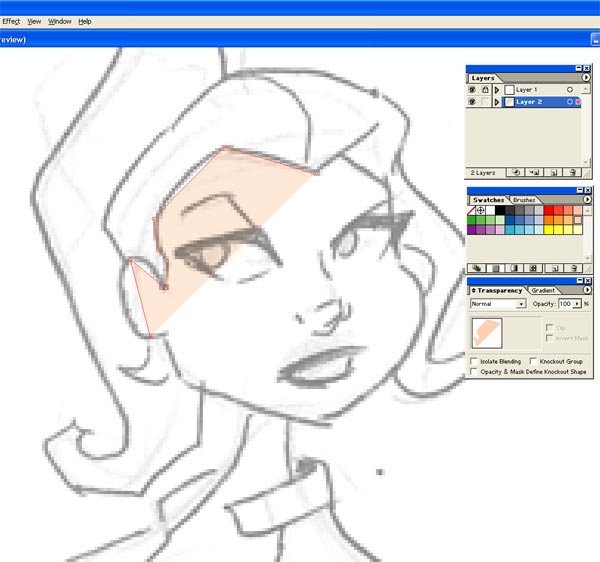
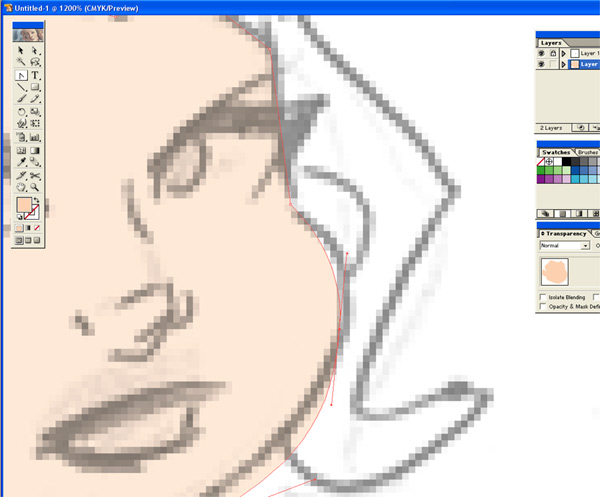
I add another layer below the layer with the image and begin the process of creating the vector art. I don't have Streamline or use any sort of "tracing" tool. I actually plot the pieces out point by point using the Pen Tool. Call me crazy, but that's how I do it.
As you can see above, I picked out a color for her skin tone and started ticking off the points that will create her face. I try to use as few points as possible and hit all the ones where the line goes in and out the most. Since I made the imported scan semi-transparent, I can see what I'm doing underneath it. Of course, it mutes her skin color a bit, but whenever I want to check the color, I simply hide that top layer. |
|
|
|
|
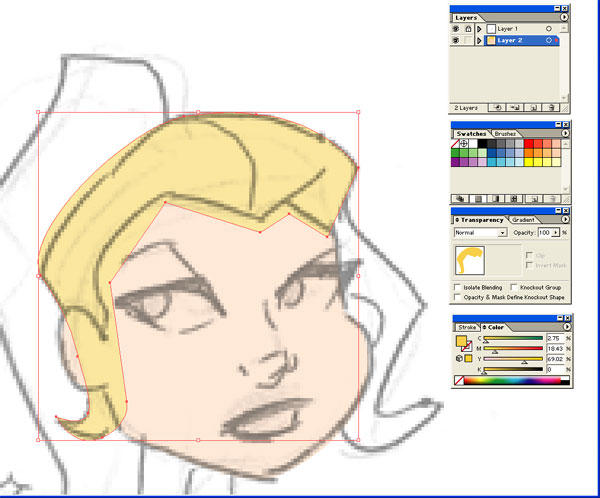
Then using the Convert Anchor Point Tool, I adjust certain points to create curves to match the drawing. On some I can pull both ends, but on others I need to pull them in separate directions to achieve a particular effect. |
|
|
|
|
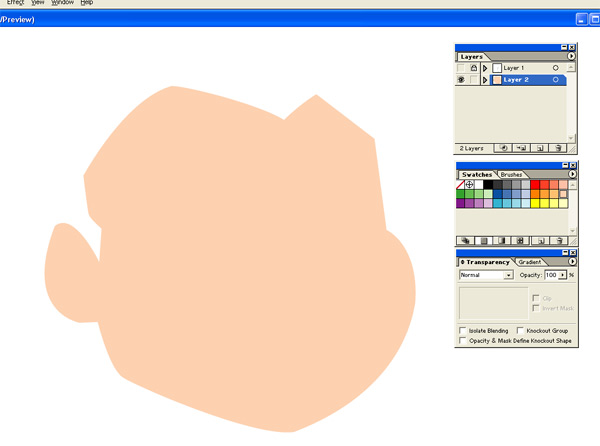
Here I've hidden the layer to show the shape of the face. The biggest challenge for me in doing these pieces is deciding the order of the elements. That is, which go above or below in relationship to each other. I don't attempt butt them up against each. That would make me insane. So, I layer them.
In this case, I've chosen to put her hair behind her face. Therefore, I've drawn the shape of her face exactly as it will appear in the finished piece. In the next step, you'll see how I don't have to do this with the hair. |
|
|
|
|
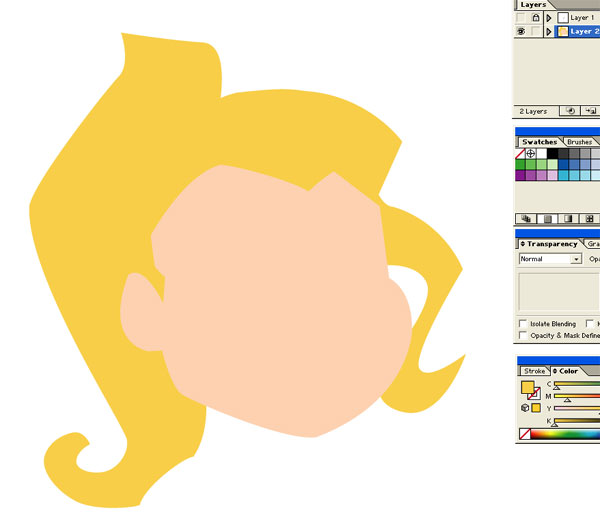
After plotting out the points for her hair, I curved parts of it to match the drawing, but as you can see I've left parts of it (mainly the bottom half) still angular where they don't match the drawing. That's because I'll be sending that element behind her face in the next step.
|
|
|
|
|
After drawing the ponytail, I've sent all of the hair pieces to the back and now the top of her face defines the hairline.
At this point, I've basically shown you all the steps I do. It's just a matter of drawing all of the individual elements and making the decisions of how to layer them in order make it easier on myself. If I showed you every element being added one at a time, not only would this tutorial be amazingly long, but it would also be even more boring than it probably is already. So I'll just show some of the steps as it evolves. |
|
|
|
|
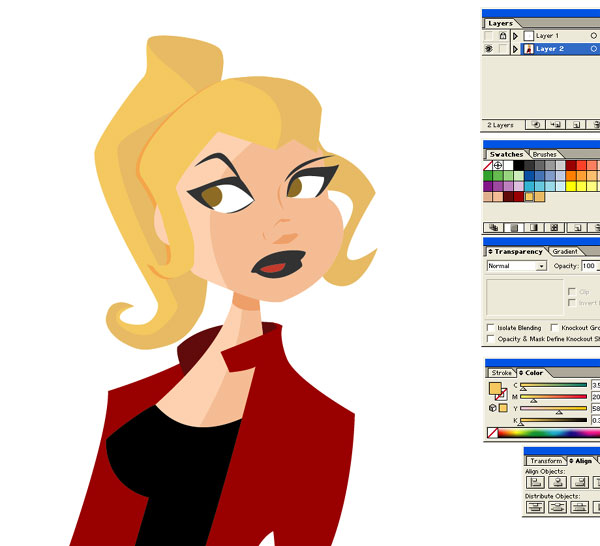
Here I've added all the face elements, her neck and chest area and her shirt. I've also added shadows on her face and neck. The shadows where not a part of the original drawing, on a whim I decided to create them. All I did was duplicate the element that I was putting the shadow on, darken it, place it on top of the original element and using the Delete Anchor Point Tool, I removed points to change the shape.
The layer order here is: face elements, face shadows, face, shirt, neck/chest shadow, neck/chest and hair. Actually the hair and the neck/chest may be reversed at this point, I'm not sure. But it doesn't matter because they don't overlap each other. You can also see here that I've changed the shape of her hair from the original. I do this a lot. Sometimes things just don't look right or I get a better idea of how to draw something, so I'll change it. |
|
|
|
|
In this shot, I've hidden the top layer so I can clearly check the colors and make sure I'm putting things where I should. I've added the jacket and also went back and added shadows on her hair.
|
|
|
|
|
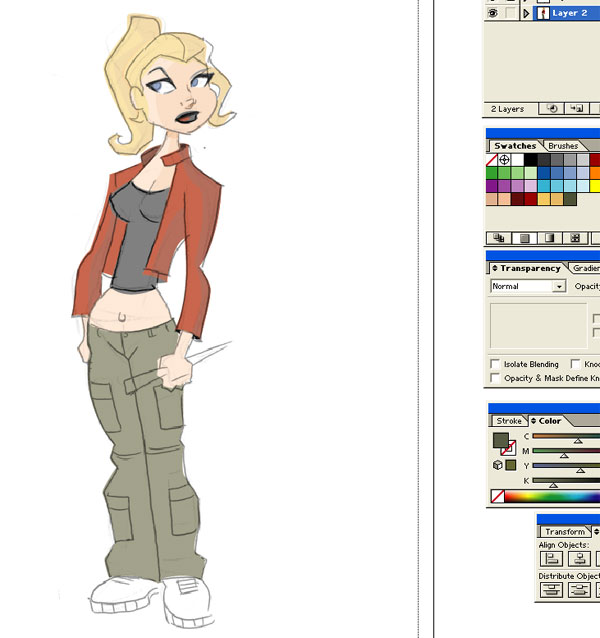
Her stomach, hands and pants are added here. As well as shadows on the jacket . Also changed her eye color.
|
|
|
|
|
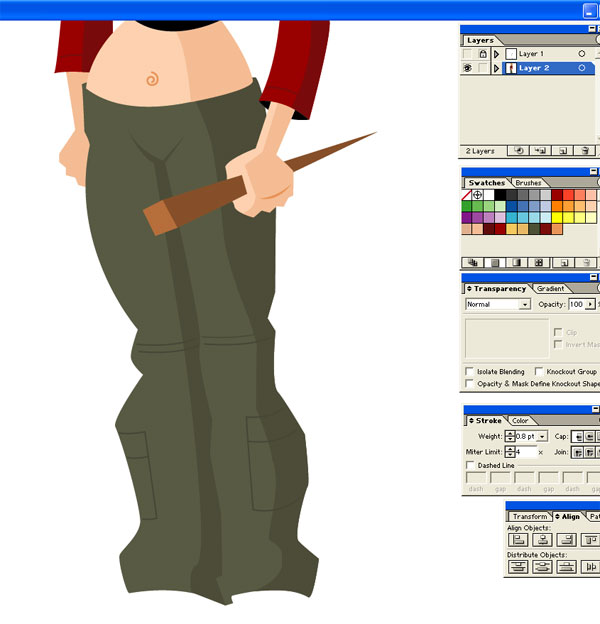
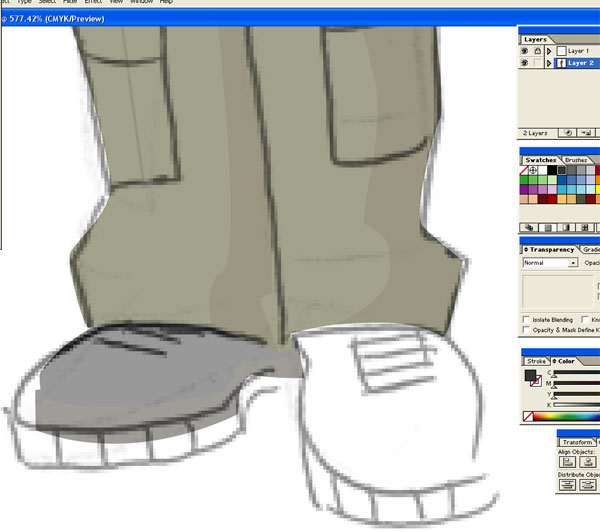
I've added shadows on her skin and pants, drew her stake and some of the detailing on the pants. Also my trademark belly button swirl has made an appearance.
|
|
|
|
|
Another example of changing my mind. I thought the feet were too big once I got into, so I shrank them.
|
|
|
|
|
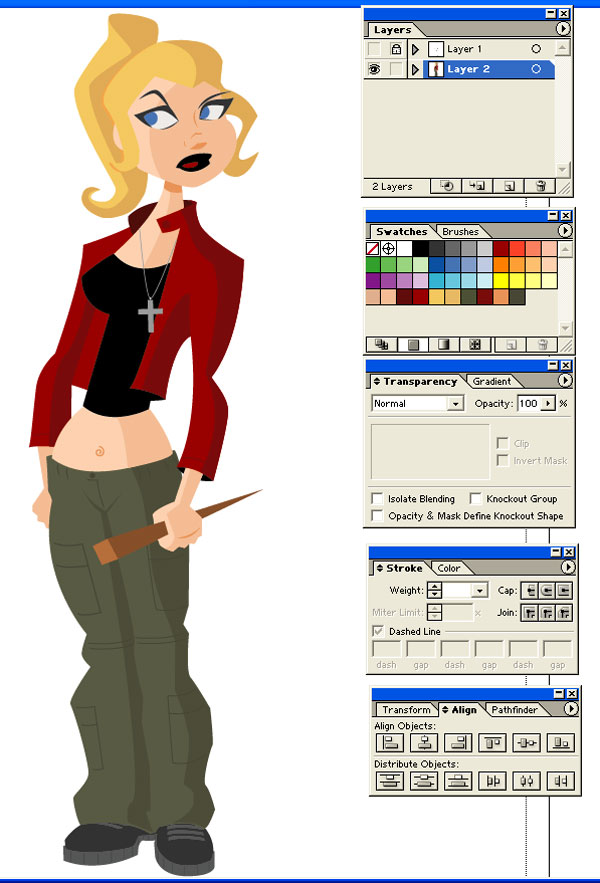
The finished figure. I also decided to add a cross necklace.
|
|
|
|
|
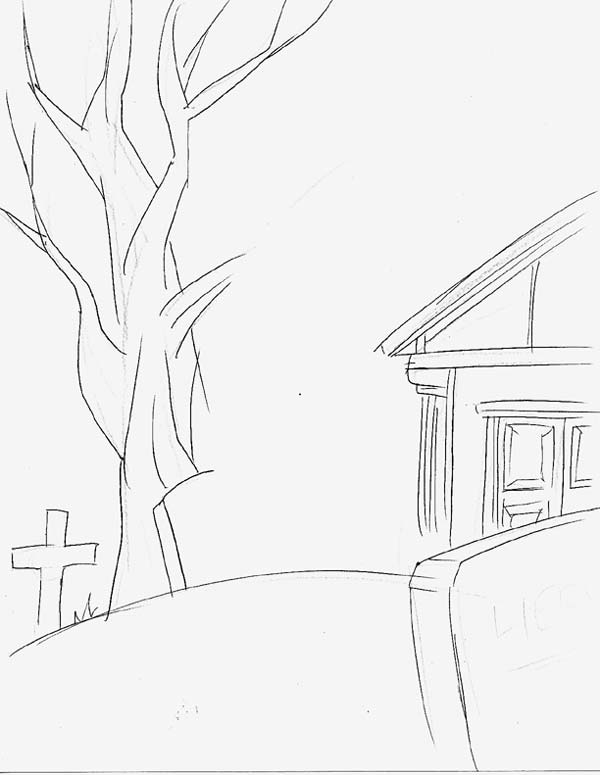
I thought I would add a background, so I did a quick sketch, went through the steps again and .....
|
|
|
|
|
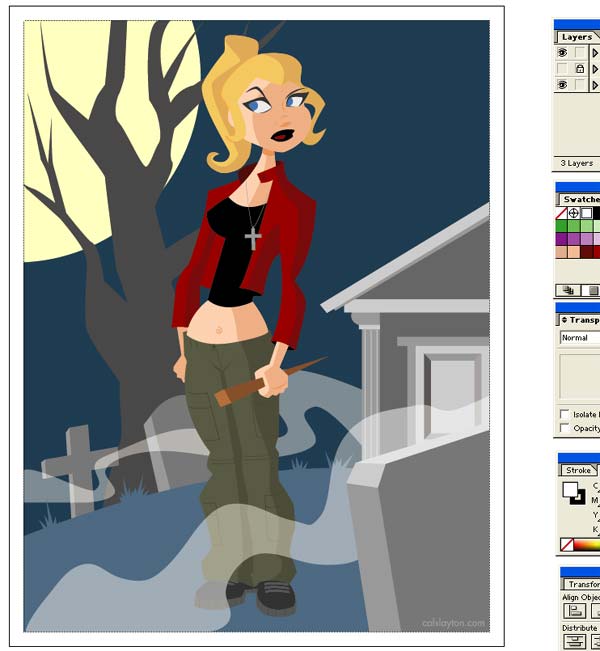
Voila! The finished piece. The mist is just white with a transparency setting of 50%.
|
|
|
|
|
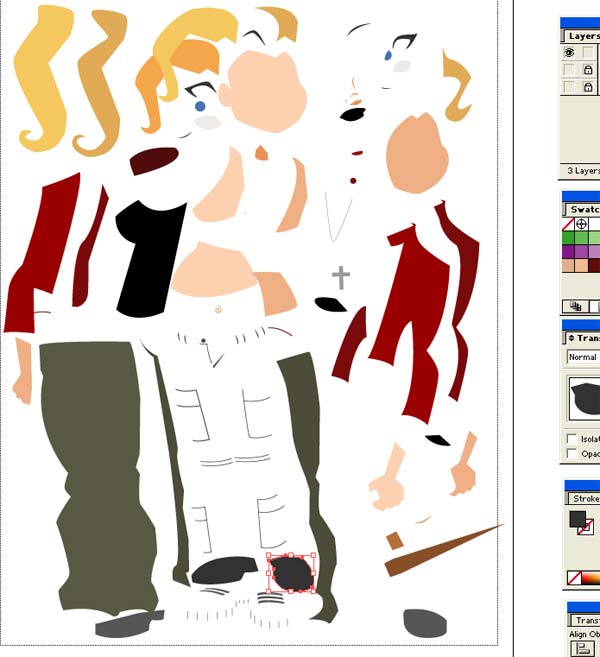
And finally, just for fun, I thought I'd separate all the element so you could see what all went into it.
I hope this was worth reading and maybe even helpful to someone. If neither were accomplished, then this was a monumental waste of my time. I could have been taking a nap. Have fun out there! -Cal |
| CALSLAYTON.COM |